Wednesday, 12 April 2017

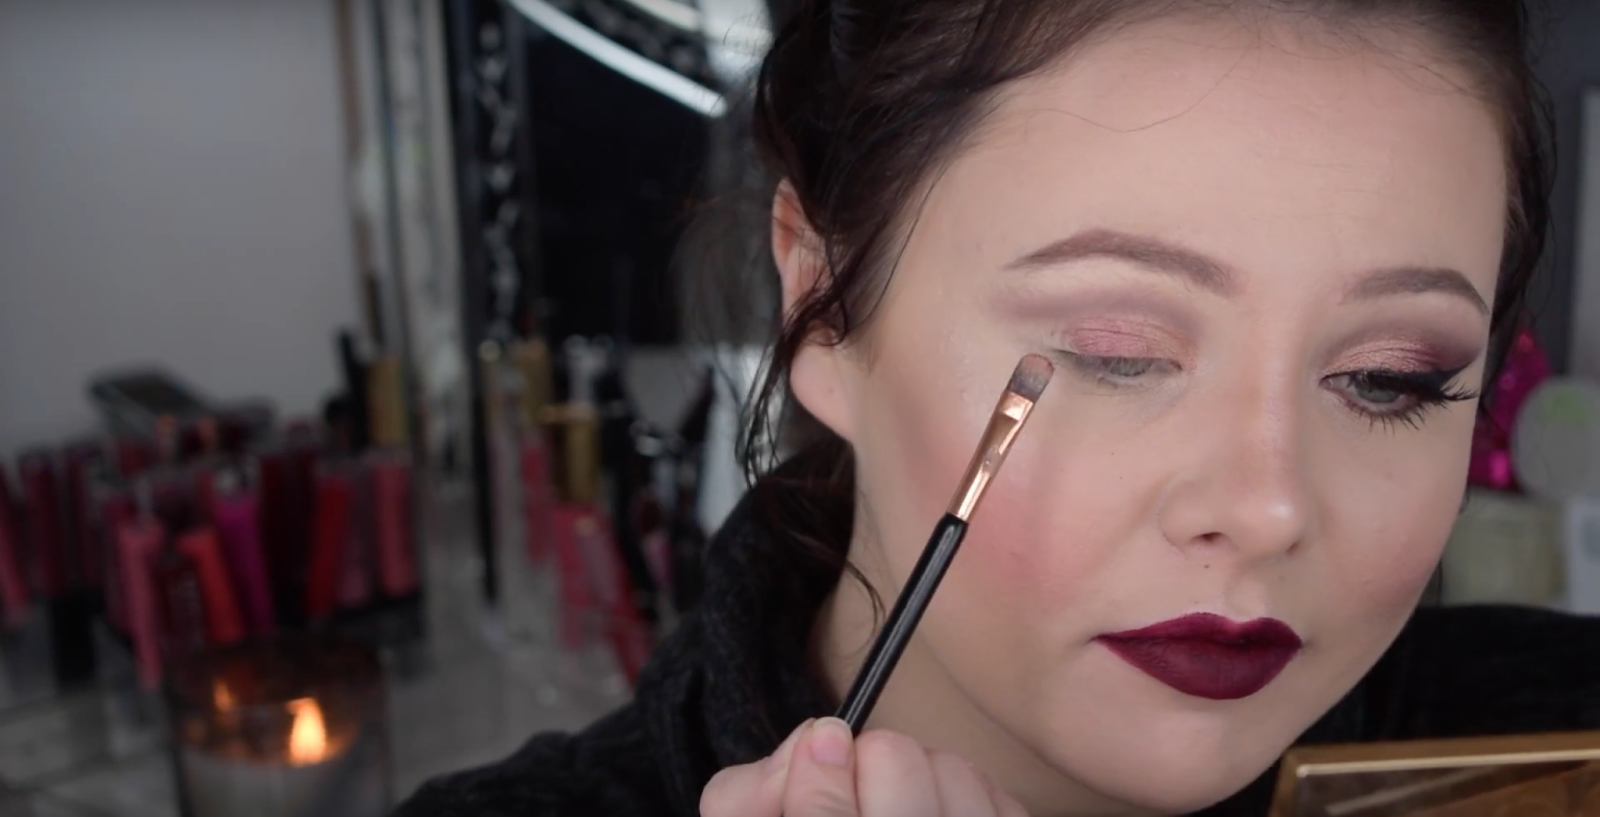
Burnt Orange Smokey Eye Makeup


Here is the perfect orange smokey eye. Very easy to recreate and looks amazing on any eye colour or shape.
There is also a video tutorial if you want to watch how to do it.


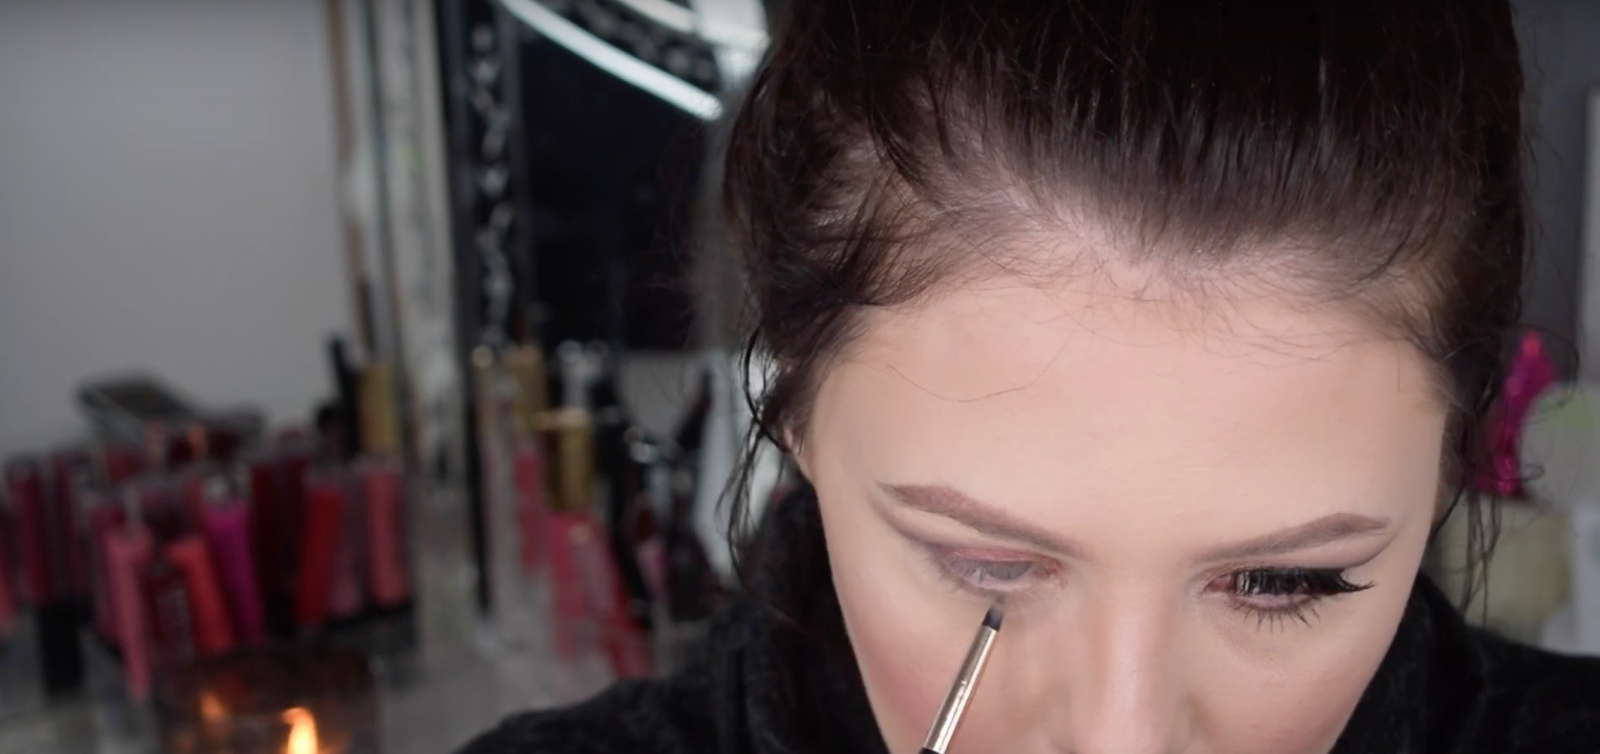
First you want to make sure there is no foundation in your eye creases. Once thats sorted apply a skin toned shadow all over the lid to the brow.

Then with a orange eye shadow apply this to the crease and outer part of your eye making sure it is soft and blended. Then with a darker brown orange do the same step but keeping it a little lower than the orange.
With a pencil brush and a dark chocolate brown shadow you want to apply this on the outer crease of your eye and then with a fluffy brush blend this out and keep repeating this step until you get it to how you want it.


With some concealer you want to clean up the crease making it a little sharper. So take this to the crease line on the inner part of the eye and then with the light cream shadow apply this over the top of the concealer. Then with the orange you want to apply this to the outer part of the eye and blend that into the cream shadow.


Now we want to go onto the lower lash to bring the full look together. First with the orange apply this to the lover lash line and then the brown directly onto the lash line.


Then you want to apply a wing to your eye making sure you take it up to the brown crease shadow.


Now with a orange highlight you want to apply this to the inner corner and the brow bone.


Finally apply some mascara to your top and bottom lashes and then some falsies.


If you want to see a video of how I got the look then it is below

xxx


Id love to see your recreation of this look. Tag me on my Instagram :) daniellexscott

Wednesday, 1 March 2017

My First Smear Test - Cervical Screening


Today I had an appointment for my first ever smear test and OMG it was so scary. Not the actual thing but the lead up was horrible.

Right so, when I got the letter my heart sank and I didn't know how to feel. I was scared, worried of what was going to happen and also worried about what the possible outcome could be.

So back to today. Sitting in the doctors I started to feel a little anxious waiting for my name to be called. 10 mins late a lovely lady called my name and we waled along the long corridor to a small room.

We sat down and she started to ask me questions about my health bladdy blahh then making just general conversation which really helped me forget about what was about to happen.

Now the difficult bit. I then lay on the bed very awkwardly and then she put this tube thing in my vagina which feels really weird. Not how you would think it would feel. Just pressure and moving about. Then with this brush they need to scrape the cervix. I will say this doesn't hurt it just feels horrible and cringy. I felt like I could hear something which didn't help how it felt. I would say this lasts about 10 seconds. Feels a little longer but i promise not that long ha.

Once this is done that is it you are all done. I did bleed a tiny bit but that is normal and I felt really strange in the bottom of my stomach but that soon faded.

Now I am just glad that this is over and wont need to do it any time soon (hopefully)

Please don't hesitate in getting this done. It take 5 minutes of your time and it could save lives. This is so important weather I get good or bad news. At least if its bad I have time to change things and its not too late.

Sorry for the personal post but this needs to be spoke about more. Thank you so much for reading.

Danielle
xxx


If you prefer to watch videos then I have added it below.


Monday, 20 February 2017

Bold Lip & Simple Eye Makeup Tutorial


Here is a great look perfect for everyday and even a night out. Perfect for beginners. If makeup scares you a little then this is perfect to recreate.

Can I say perfect anymore haha.

Easy and quick. Hope you like it
<3


First with a skin toned shadow apply this to the lid up into the brow making sure there is no foundation in the creases of the lid.


When your eyeliner you want to apply a dramatic wing on your eyes. I also take this right into the inner corner.


Then curl your lashes and apply your mascara and false lashes too. I find lashes are great with liner as sometimes your natural lashes can be a little lost with just mascara.


Now with my fav lipstick/pencil right now. I applied my NYX Ombre Lip Duo Pencil I applied this to my lips. Any ombre bold pink lip will do.


Finally with a little bit of highlight apply this to your inner corner and this will open up your eyes and brighten your inner corner.


If you want to know how I got this full look there is a video tutorial below.


What do you think of bold lips?
I feel its a nice easy option. Can never go wrong.

Friday, 17 February 2017

How To : Contoured Lips


I love contoured lips. Its a great way to get bigger lips without a needle. It is also great to get a different sort of look and very easy. 


1. Apply your left over foundation over you lips to give that even base.


2. With a highlight you want to apply this to the cupids bow.


3. With a darker lip pencil you are going to want to outline your lips and the shade in the outer corners of your lips and also bring the lines down your lips on the cupids bow.


4. Then with the lighter lipstick apply this on your lips.


5. You can then add more of the darker pencil in the same places if needed.


6. With a contour powder you want to apply this under the lower lip. This will create a shadow and make the lower lip look bigger.


7. With some lip gloss apply this to the centre of the lips to give that highlight.


Have you tried contoured lips? What do you think?

If you want a video tutorial on this then I have put this below.


Thursday, 16 February 2017

Zoeva Matte Palette Smokey Eye Tutorial


So this look is a great easy warm smokey eye. This look can be perfect for any occasion day or night. Id love to know what you think of this look and would you wear it?

Products Used:
#Zoeva Matte Palette
Loreal Mega Volume Miss Hippie
Kiss Lashes Ritzy


1. First apply a skin toned shadow to your eye up into the brow as a base for your other shadows.


2. Then with a orange shade and a large fluffy brush apply this to the crease.


3. Then with a red shade and a smaller fluffy bush apply this to the crease but leaving a little lower than the last shade and on the inner corner of the lid.


4. Then with a plum shade apply this on the other part of the lid and to the water line.


5. With a burnt brown shade apply this on the outer corner of the eye and blend out into the crease and on the lower lash line.


 7. Finally apply your mascara and false lashes.

If you would prefer to watch a tutorial on this then I have included this belowxxx


Monday, 9 January 2017

Mac x9 Burgundy Palette Eye Tutorial


Here is my first makeup tutorial of the year. So for Christmas my amazing partner got me the Mac x9 Burgundy Palette and I have not put it down. I love the colours in it and feel it may still be perfect for this time of year. 
But lets be real you can wear what you damn well want whenever you want :p


So first you are going to want to prime your eyes. I am using the Urban Decay Eden Primer Potion and applying this to the lid and then with a brush blend this up out into the brow. If you don't have a primer you can use concealer.


As that was a liquid you then want to apply a powder. This is going to help set it and stop creasing. I just go in with either a translucent or a skin toned shadow.


Now going in with the palette I am first taking the brown shade which is on the top row in the middle. I am then using a large fluffy brush and softly blending this into the crease.
Then taking a pencil brush and the chocolate brown shade I am first going to sketch out where I would like my crease to go. As I have hooded eyes I apply this just above my natural crease. So relaxing my eyes and then go slightly above. I then go in with a larger brush and apply this in the 'crease'


Then taking the golden shimmer shade I apply this to the inner corner of my eye into the centre


Taking the plum shimmer shade I apply this to the centre and into the outer corner.


And then finally for this palette apply the dark plum shade to the outer corner of the eye. You can then go over these steps until you are happy with the look.


Then using my Sleek highlighter eye solstice palette I apply the pink and golden shade to the inner corner of my eye and brow bone. 


 I then go back in with the chocolate brown shade and pencil brush and apply this to the lower lash line.


I am then going in with my eyeliner and just applying a wing to my eye. This can be as big or as small as you like.


 Finally you want to give your lashes and curl and then apply your mascara and false lashes to finish of the look.


Id love to know what you think of this look. Would you wear this or do you have the palette and what are your thoughts?

If you want to see the full talk through tutorial then you can watch it below.
xxx