Showing posts with label beginner makeup. Show all posts

Thursday, 22 February 2018

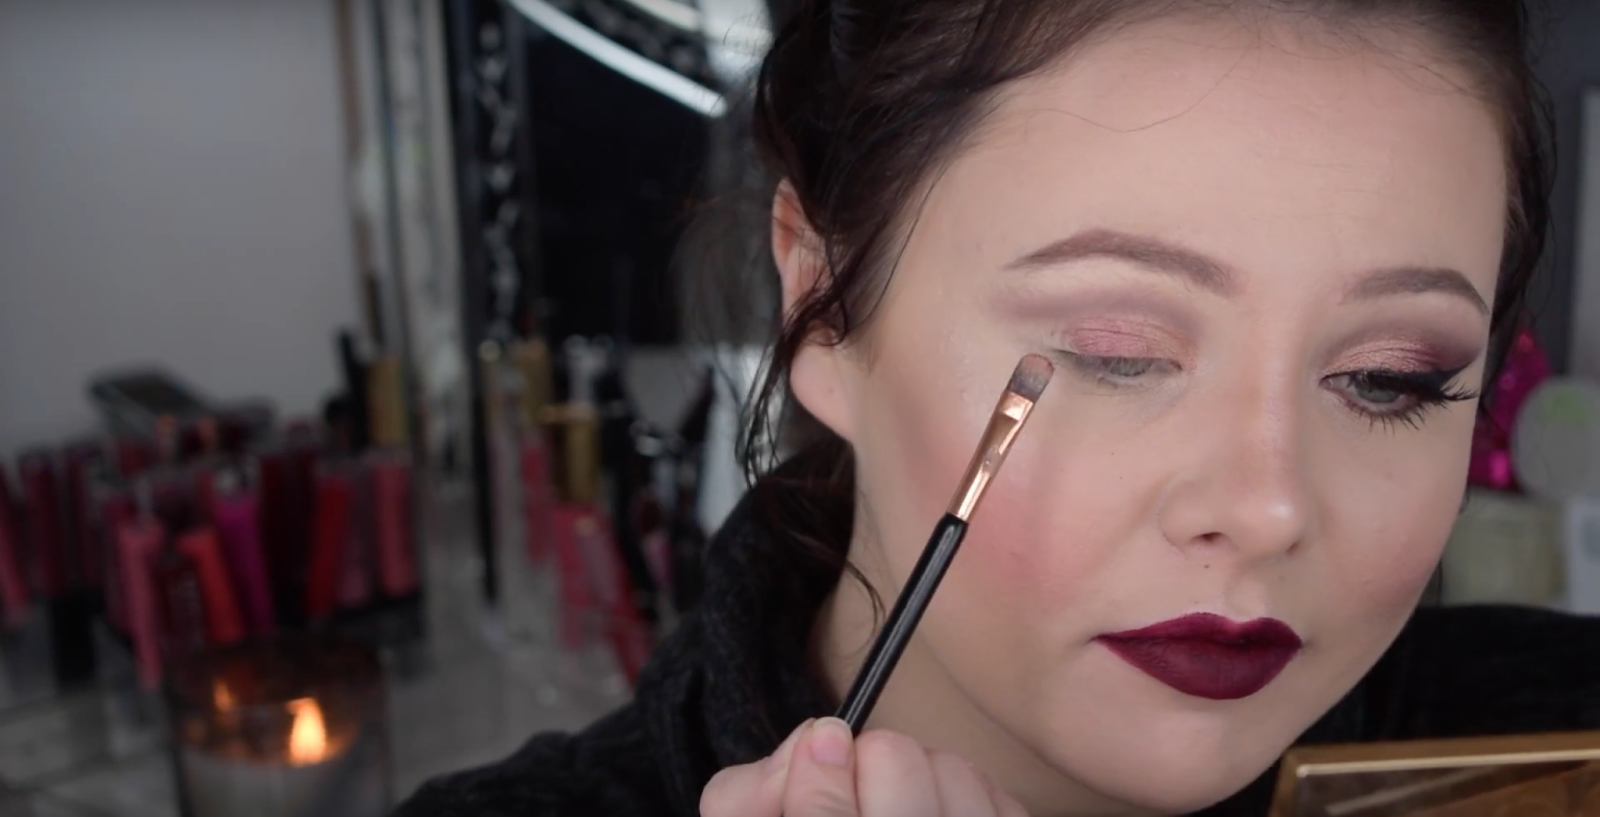
MORPHE JACLYN HILL PALETTE Makeup Tutorial


I eventually bit the bullet and got the Morphe Jaclyn Hill Palette. I was so impressed. The colour pay off is just amazing and blends out like a dream. This is the first look I created with it. A fun colourful look.


First you want to apply a eye primer or concealer to the lid of your eyes and blend this out and set it with a powder. 


Then with the light orange shadow you want to take a large fluffy brush and blend this into the crease keeping it blended.


Then with a darker burnt orange eyeshadow you want to also apply this to the crease keeping it a little lower than the last shadow and this can help with keeping the look blended. Don't worry if it goes on the lid as we will clean it up.


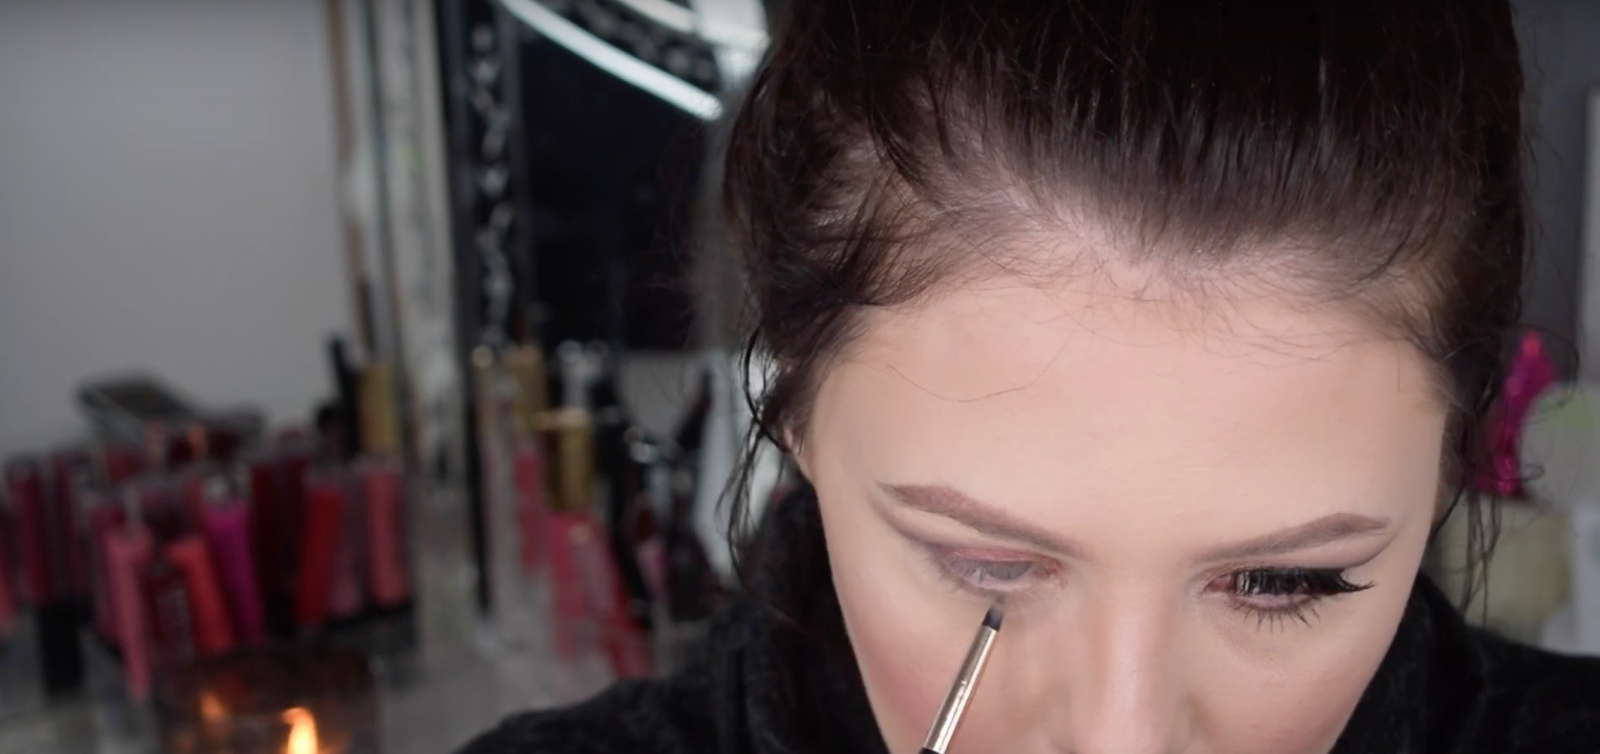
Now for the clean up. You can do this by going in with the concealer or eye primer and a small brush you want to carve out the cut crease. When doing this keep you eyes open as this will give you the best idea of what you want it to look like.


Now with the aqua shade you want to apply this where you've just applied the primer.


With a darker burgundy shade and a small fluffy brush you want to blend this on the outer corner and lower lash line. This will help bring the lid into the crease and bring everything together.


With a dark chocolate brown eyeshadow and a pencil brush you want to apply this slightly on the outer lid and in the crease where you join the lid and crease together.


For the waterline apply a black eyeliner/crayon and with a pencil brush you want to blend this to the lower lash line so you can see the skin between the lashes. 


For the lashes apply mascara to the top and bottom lashes and pop on some false lashes to make the eyes pop and open up the eyes.


To make sure the eyes don't look to dark you want to apply a light shimmer shadow to the inner corner and brow bone.


To finish off this look I paired it with a dark burgundy nude lip.


If you would rather watch a video on this tutorial I've added this below <3


Wednesday, 12 April 2017

Burnt Orange Smokey Eye Makeup


Here is the perfect orange smokey eye. Very easy to recreate and looks amazing on any eye colour or shape.
There is also a video tutorial if you want to watch how to do it.


First you want to make sure there is no foundation in your eye creases. Once thats sorted apply a skin toned shadow all over the lid to the brow.

Then with a orange eye shadow apply this to the crease and outer part of your eye making sure it is soft and blended. Then with a darker brown orange do the same step but keeping it a little lower than the orange.
With a pencil brush and a dark chocolate brown shadow you want to apply this on the outer crease of your eye and then with a fluffy brush blend this out and keep repeating this step until you get it to how you want it.


With some concealer you want to clean up the crease making it a little sharper. So take this to the crease line on the inner part of the eye and then with the light cream shadow apply this over the top of the concealer. Then with the orange you want to apply this to the outer part of the eye and blend that into the cream shadow.


Now we want to go onto the lower lash to bring the full look together. First with the orange apply this to the lover lash line and then the brown directly onto the lash line.


Then you want to apply a wing to your eye making sure you take it up to the brown crease shadow.


Now with a orange highlight you want to apply this to the inner corner and the brow bone.


Finally apply some mascara to your top and bottom lashes and then some falsies.


If you want to see a video of how I got the look then it is below

xxx


Id love to see your recreation of this look. Tag me on my Instagram :) daniellexscott

Monday, 20 February 2017

Bold Lip & Simple Eye Makeup Tutorial


Here is a great look perfect for everyday and even a night out. Perfect for beginners. If makeup scares you a little then this is perfect to recreate.

Can I say perfect anymore haha.

Easy and quick. Hope you like it
<3


First with a skin toned shadow apply this to the lid up into the brow making sure there is no foundation in the creases of the lid.


When your eyeliner you want to apply a dramatic wing on your eyes. I also take this right into the inner corner.


Then curl your lashes and apply your mascara and false lashes too. I find lashes are great with liner as sometimes your natural lashes can be a little lost with just mascara.


Now with my fav lipstick/pencil right now. I applied my NYX Ombre Lip Duo Pencil I applied this to my lips. Any ombre bold pink lip will do.


Finally with a little bit of highlight apply this to your inner corner and this will open up your eyes and brighten your inner corner.


If you want to know how I got this full look there is a video tutorial below.


What do you think of bold lips?
I feel its a nice easy option. Can never go wrong.

Monday, 9 January 2017

Mac x9 Burgundy Palette Eye Tutorial


Here is my first makeup tutorial of the year. So for Christmas my amazing partner got me the Mac x9 Burgundy Palette and I have not put it down. I love the colours in it and feel it may still be perfect for this time of year. 
But lets be real you can wear what you damn well want whenever you want :p


So first you are going to want to prime your eyes. I am using the Urban Decay Eden Primer Potion and applying this to the lid and then with a brush blend this up out into the brow. If you don't have a primer you can use concealer.


As that was a liquid you then want to apply a powder. This is going to help set it and stop creasing. I just go in with either a translucent or a skin toned shadow.


Now going in with the palette I am first taking the brown shade which is on the top row in the middle. I am then using a large fluffy brush and softly blending this into the crease.
Then taking a pencil brush and the chocolate brown shade I am first going to sketch out where I would like my crease to go. As I have hooded eyes I apply this just above my natural crease. So relaxing my eyes and then go slightly above. I then go in with a larger brush and apply this in the 'crease'


Then taking the golden shimmer shade I apply this to the inner corner of my eye into the centre


Taking the plum shimmer shade I apply this to the centre and into the outer corner.


And then finally for this palette apply the dark plum shade to the outer corner of the eye. You can then go over these steps until you are happy with the look.


Then using my Sleek highlighter eye solstice palette I apply the pink and golden shade to the inner corner of my eye and brow bone. 


 I then go back in with the chocolate brown shade and pencil brush and apply this to the lower lash line.


I am then going in with my eyeliner and just applying a wing to my eye. This can be as big or as small as you like.


 Finally you want to give your lashes and curl and then apply your mascara and false lashes to finish of the look.


Id love to know what you think of this look. Would you wear this or do you have the palette and what are your thoughts?

If you want to see the full talk through tutorial then you can watch it below.
xxx