Tuesday, 6 March 2018

Blue Cut Crease - The Magic By Juvia - Makeup Tutorial


Hi Guys <3
Here is one of my fav looks this year. I love experimenting with colours and feel creative when using colours. It always seems to be blues and purples that I use haha. I hope you like this look as much as I do. 


First you want to apply a light shadow and put it all over the lid and up into the brow.


With a large fluffy brush and red eyeshadow you want to blend this into the crease and lower lash line.


 With a dark navy blue shadow and a smaller brush you want to apply this in the crease and also the lower lash line. You want to keep this a little lower than the red as this will help it blend.


With a even darker blue shadow and a smaller brush again you want to apply this to the crease, outer corner, inner corner and also the lower lash line. Keep going back to the other colours and brush to make sure you keep the other colours and to keep it blended.


With a concealer or eye primer you want to apply this on the centre of the lid. If you have hooded eyes keep your eyes open so you can have the best guideline to where this needs to go. With the hooded eyes its best to go a little higher than your crease so it doesn't disappear when you open your eyes.


On top of the concealer/primer you want to apply this light blue/lilac colour to the lid. You then want to blend this out slightly to the crease colours.


 With a light aqua blue apply this to the inner corner.


 Apply some eyeliner to your eyes and create a wing.


 To finish off your eyes you want to apply some mascara and lashes.


For this look I added a light pink liquid lip.


If you would rather watch a tutorial Ive added this below xxx

Let me know if there is anything in particular.


Thursday, 22 February 2018

MORPHE JACLYN HILL PALETTE Makeup Tutorial


I eventually bit the bullet and got the Morphe Jaclyn Hill Palette. I was so impressed. The colour pay off is just amazing and blends out like a dream. This is the first look I created with it. A fun colourful look.


First you want to apply a eye primer or concealer to the lid of your eyes and blend this out and set it with a powder. 


Then with the light orange shadow you want to take a large fluffy brush and blend this into the crease keeping it blended.


Then with a darker burnt orange eyeshadow you want to also apply this to the crease keeping it a little lower than the last shadow and this can help with keeping the look blended. Don't worry if it goes on the lid as we will clean it up.


Now for the clean up. You can do this by going in with the concealer or eye primer and a small brush you want to carve out the cut crease. When doing this keep you eyes open as this will give you the best idea of what you want it to look like.


Now with the aqua shade you want to apply this where you've just applied the primer.


With a darker burgundy shade and a small fluffy brush you want to blend this on the outer corner and lower lash line. This will help bring the lid into the crease and bring everything together.


With a dark chocolate brown eyeshadow and a pencil brush you want to apply this slightly on the outer lid and in the crease where you join the lid and crease together.


For the waterline apply a black eyeliner/crayon and with a pencil brush you want to blend this to the lower lash line so you can see the skin between the lashes. 


For the lashes apply mascara to the top and bottom lashes and pop on some false lashes to make the eyes pop and open up the eyes.


To make sure the eyes don't look to dark you want to apply a light shimmer shadow to the inner corner and brow bone.


To finish off this look I paired it with a dark burgundy nude lip.


If you would rather watch a video on this tutorial I've added this below <3


Wednesday, 21 February 2018

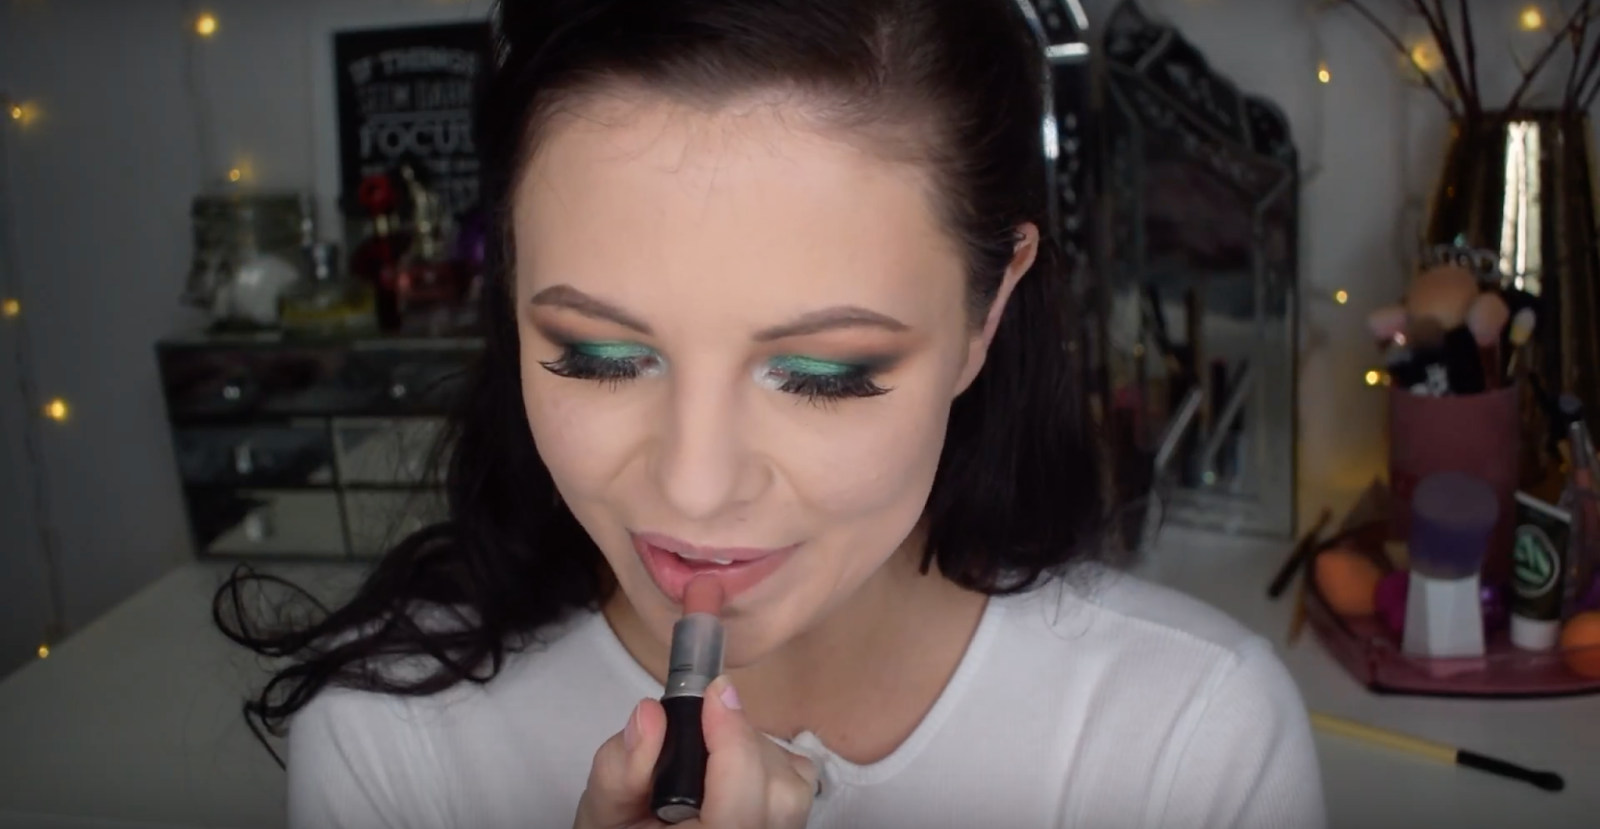
Green Ombre Smokey Eye Makeup Tutorial


Green makeup is a perfect colour for everyone. It goes with any eye colour, hair colour and even skin tone. I do feel green is forgotten a little. However here is a perfect green ombre look that is so easy and glam.


First to get this look you want to take a light brown shade and blend this into he crease as a transition. Then with a very light orange shade you want to do the same thing making sure it is blended.


Now with a slightly darker orange shade you want to blend this into the crease and also on the lower lash line. To help keep this looking blended you want to keep each shade a little lower than the land making sure everything blend into each other.


Then with the green shadow you want to start of with a green shadow and apply this on the centre of the lid and then a lighter green on the inner lid and a darker green on the outer lid. On the darker green you want to take a blending brush and blend this out into the crease a little.


To make the eyes pop you want to go in with a very light aqua blue shadow and apply this to the inner corner.


To keep the eyes larger and bright you want to apply a light cream in the waterline.


To finish of the eyes you want to apply mascara to the top and bottom lashes and pop on some false lashes.


For this look you can pair this with a brown nude lip.


If you would rather watch a video on how to do this I have added this below for you


Let me know what you would like to see next xxx

Tuesday, 6 February 2018

Perfect Eyeliner EVERY TIME


Do you ever struggle with eyeliner. I hate it. Eyeliner is the biggest struggle when it comes to makeup. You find the first one goes great and then the stress to get the other eye to match is just a nightmare. However if I don't want the stress this is what I do and I wanted to share with you <3


First you want to take some sellotape and take this on your hand and place it where you want to edge of your eyeliner to be. This is the most important step because if you get this wrong the next steps wont work.

Then with your eyeliner apply this along your lash line and then follow it along the sellotape . Then from the end of the line you've just drawn you want to draw a triangle and meet up about 3 quarters along the lash line. Don't worry about the edge as the sellotape will clean this up.

Then you just peel away the sellotape and you have that clean and sharp line.